Tutorial: Faux Druzy from Polymer Clay
So I'm pretty obsessed with druzy jewelry right now, but when I went to look at real druzy stones or cabochons, they are pricey! Then I ran across this project on Sculpey.com: Faux Druzy Quartz Ring
I didn't make that particular project, but I took the idea of using tinfoil to get that distinctive druzy texture, and ran with it. So anyways, here is a pic of one of my finished pieces:


I didn't make that particular project, but I took the idea of using tinfoil to get that distinctive druzy texture, and ran with it. So anyways, here is a pic of one of my finished pieces:

Materials:
Polymer Clay in desired color (I used Sculpey III black for the above piece)
Polymer Clay with mica (metallic colors), or loose mica powder (I used Sculpey III silver for the above piece)
Extra Fine Glitter in desired colors (I used equal parts black and gunmetal, and then a little blue and purple to result in a mostly black but kind of peacock-y effect)
Tinfoil
Wax Paper
Clay roller
Clay cutters in various shapes, or empty soda cans and some scissors and glue to make a cutter.
Various findings (eye pins, head pins, etc...)
Clear gloss (I used Varathane water-based finish)
Step 1: Decide what final product you are making!
I didn't do this the first go round... I just made a bunch of random druzy cabochons, and I regretted that because it was more complicated than necessary to make them into finished pieces. I had to use a lot of glued on bails and eyepins, and so the backs of these pieces don't look very finished. If you decide on your final piece ahead of time, you can incorporate any needed hardware/findings before baking the clay.
Step 2: Condition your clay by hand kneading it or with a pasta machine.
Step 3: Mix the colored clay with the metallic clay, or mix in the mica powder to the colored clay. Mix until the color is uniform.

Step 4: Roll out your clay into a sheet a little thicker than you want your pendant/cabochon to be (it will lose a little thickness to the texturizing process). I put down wax paper on my work surface for this.

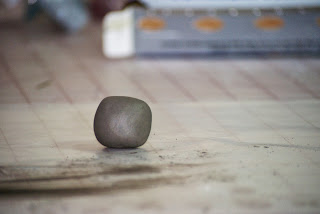
Step 5: Wad up some tin foil into a ball


Step 6: Roll the tin foil around on the surface or your clay sheet until the whole sheet has a rough texture.

Step 7a: If you need to make your own cutters, cut out a strip around an old soda can, form the desired shape, and super glue in place. Put some duct tape at the top so you don't cut yourself when you use the cutter.


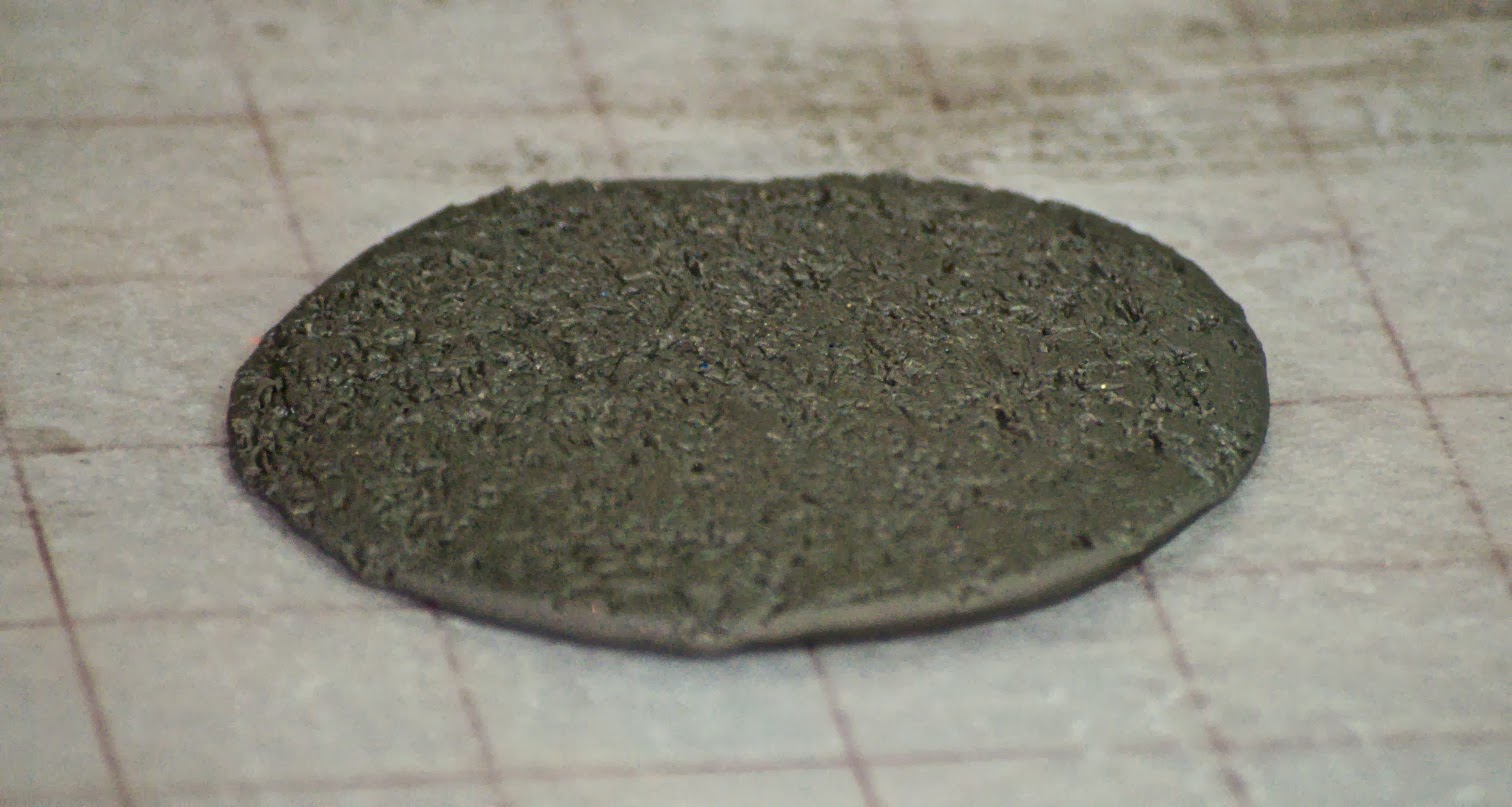
Step 7b: Cut out desired shapes (Note: do NOT use saran wrap to get rounded edges... it will mess up the texture)

Step 7c: Re-knead and roll out clay, re-texturizing each time, until you have cut out as many pieces as you want.

Step 8: Embed any desired hardware/findings into your pieces. For example, I inserted an eye pin vertically in the top of some teardrops, so I can make dangle earrings. For others, I inserted an eye pin horizontally so I can attach them together into a bib necklace.


Step 9: Pour a generous amount of glitter over each piece.

Step 10: LIGHTLY press the glitter into the pieces
Step 11: For each piece, shake off the excess glitter, and then go back over the surface with the tinfoil to add a bit more texture. At this stage I un-wadded and re-wadded my tinfoil several times until I got interesting crinkles, and was a little more purposeful about pressing a specific part of the tinfoil into each piece to get the look I wanted.

Step 12: Bake the pieces according to manufacturer's directions.

Step 13: Once the pieces are cooled, coat the top surface only with a clear gloss. You want to take a light hand, and dab the gloss on, so as not to wipe off all the glitter. The Varathane water based works REALLY well... it is quite thin so it does not smooth out the jagged texture we have created, and it really keeps the glitter in place, so your pieces aren't shedding glitter every time you wear them.
Step 14: Once the gloss is completely dried, wipe off any excess glitter from the side and back of your pieces
Step 15: Assemble into final product as desired.

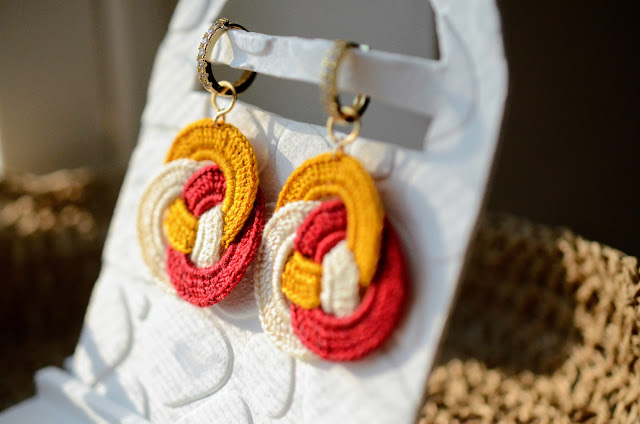
Here are some other pieces I have made in different colors:


This is so awesome! thank you! :)
ReplyDeleteThis is old but has to be the best and most realistic looking druzy tutorial I've come across!
ReplyDeleteWow! I'm really impressed. These look very authentic! Thanks for sharing.
ReplyDelete